 Skip to content

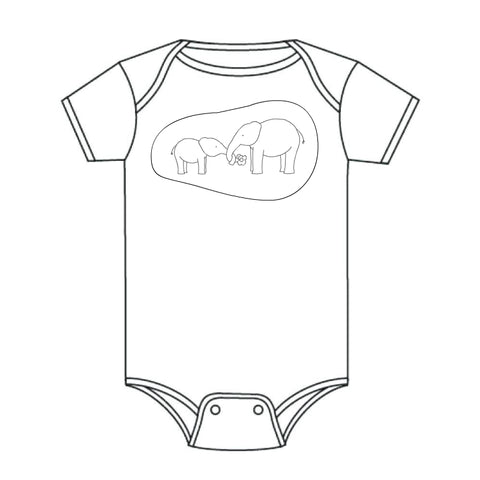
Elephant Onesie
Difficulty Level: Easy
Project Length: Quick

To stitch this hand embroidered baby grow you will need:
- Lazy May 'Hello Baby' embroidery pattern set (transfer)
- A white onesie (baby grow)
- DMC thread in the following colour; light blue 827,
- embroidery stabliser
-
Embroidery Hoop, Needle, Scissors
If you are new to embroidery you can find a guide to the basics, including equipment and getting setting up here. You will find guides to all the stitches mentioned in this pattern here .
Preparation
It is much easier to stitch stretchy fabrics with embroidery stabiliser attached, so before you start turn your onesie inside out and position the embroidery stabiliser as shown below. Press with a hot iron to stick the stabiliser to the fabric.

Now turn your onesie right side out and transfer your pattern. follow the pack instructions to cut out and transfer the elephant design to the onesie. Iron your onesie so the fabric is flat and warn and position the transfer ink side down in the position shown below.
Press very firmly with a hot iron, continue to press firmly as you slide the iron across the transfer. Once transferred clamp your onesie and attached stabiliser in the hoop.
Stitching Notes
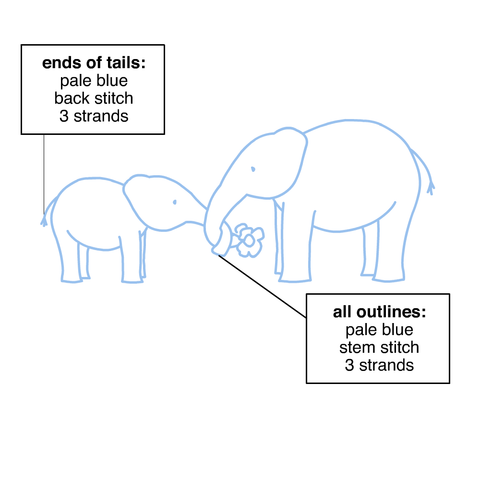
1. Start by stitching the outline of the elephant. Cut an arms length of light blue thread and separate 3 of the six strands by untwisting the thread (if you are new to embroidery and have not done this before you will find more instructions in my beginners embroidery guide).
Thread your needle with the 3 strands and tie an knot in the other end. Now begin to stitch over the pattern line of the leaves using stem stitch (click here for a guide to stem stitch). With all the stitches in this pattern keep the stitches small and tight.
2. When you get to the stitches that come off the tail, use a simple back stitch to cover these pattern lines (click here for a guide to back stitch)
3. Finally stitch the eye, again using one or two simple back stitches to cover the dot of the pattern
4. Once you have over all the pattern lines, carefully tear away the embroidery stabiliser, press down on the stitches with your thumb as you tear the stabiliser, this will ensure the stitches don't get pulled out of shape.
And thats it, all done, wrap in some lovely tissue paper and you have the perfect hand embroidered new baby gift.
This project is made using "Hello Baby' Iron-on embroidery transfer patterns, click the link below to add to you cart.
